Will a landscape lighting installer in Tempe plan for your yard’s real conditions, not just its appearance? A reliable choice is an installer who can explain how the proposed system fits your property, Tempe’s outdoor conditions and your goals for using the yard after dark.
Heat, dust, low-water planting and hard soil can affect where lights and wires fit. A clear plan should connect those site needs with fixture choices, safe paths and checks after installation. It should also make the project’s scope easy to understand before work begins.
Start by noting which areas you use at night and what you want to see. Then compare proposals that explain the design, installation steps and testing in plain terms. A consultation can help turn those priorities into a plan for your home without assuming every property needs the same approach.
Set your priorities before comparing proposals so each installer is responding to the same needs.
Key Takeaways
- Set the project scope around the routes and outdoor areas you use.
- Ask how the design accounts for Tempe soil, plants and existing irrigation.
- Check that fixture ratings fit each light’s actual location.
- Compare written bids from properly licensed contracting businesses.
- Request a site plan and ask how the system will be tested.
- Keep lenses clean and check fixture aim after yard work.
What Should a Tempe Landscape Lighting Project Include?
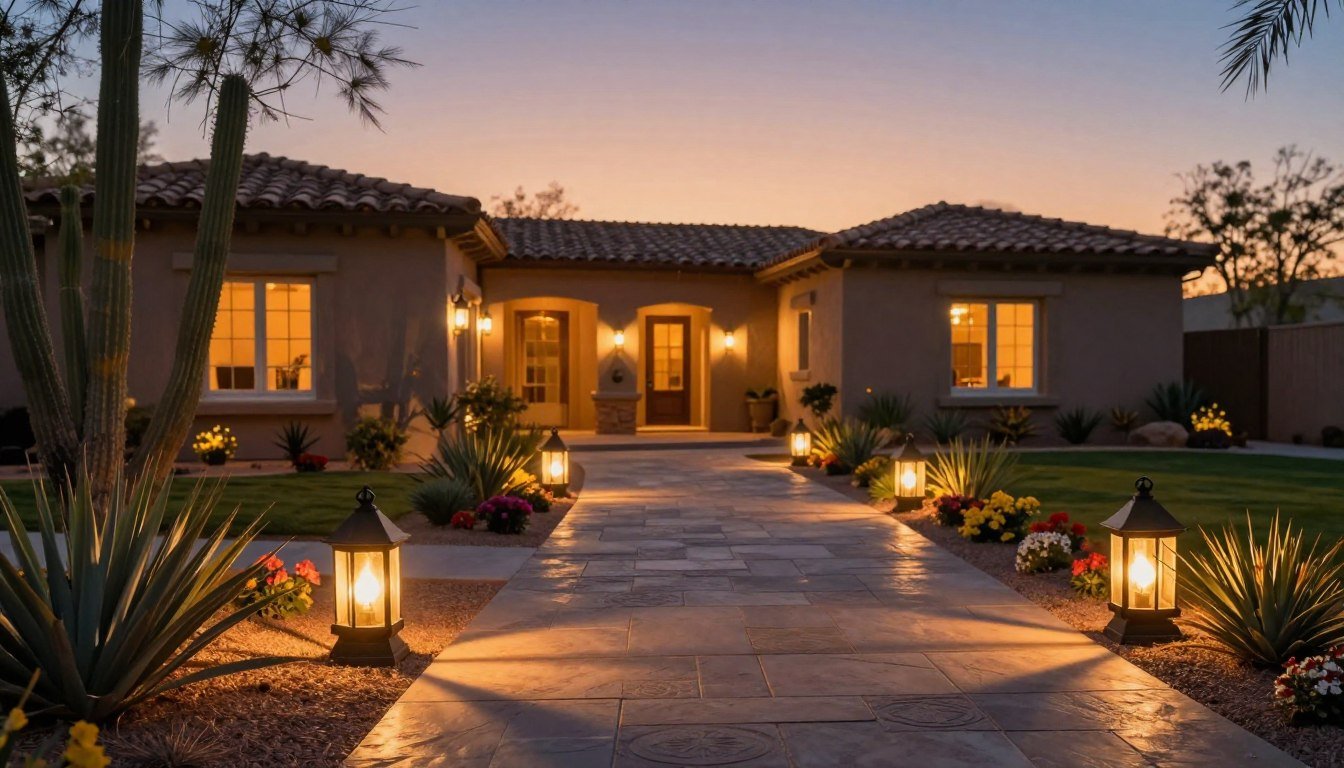
A typical residential plan can combine visible routes with a smaller number of carefully chosen landscape features. Low-voltage landscape lighting often serves paths, patios, gardens and trees, while LED path fixtures can mark a route without lighting every part of the yard.
Before a visit, note where you walk, gather and want a focal point. Voltage drop is the reduction in electrical voltage between the power source and a fixture along a wire run. This can matter when an installer plans long cable routes.
Walkways, entries and steps
Start with the routes people actually take after dark. Lighting at an entry, stair or walkway can make changes in level easier to see. Pathway lighting should help people move safely, not shine into their eyes or create bright gaps along the route.
LED path fixtures are one option for these areas. Their positions should follow the path and step layout, rather than a fixed spacing rule that ignores how people use the space. Include the front entry, side gates and any steps that lead to a patio.
Trees, walls and outdoor living areas
Accents can draw attention to tree trunks, a mature canopy, a wall or another focal feature. Wall washing spreads light across a surface, while a spotlight can pick out one tree or garden feature. These effects work best when they support the property’s layout.
Patios, outdoor kitchens and pool edges need a plan that considers both movement and gathering. A landscape lighting project may cover patios, pools, outdoor kitchens and water features, but the scope should name each area clearly. Use this checklist before the site visit:
- Routes people regularly use after dark.
- Entry points and the locations of steps.
- Trees or walls you want to highlight.
- How you use the patio or outdoor kitchen.
- Pool or water-feature edges that need attention.
The checklist helps define the project scope, not set fixture counts. Mark the routes people actually use at night before deciding where decorative accents belong.
How Can Lighting Design Balance Safety and Atmosphere?
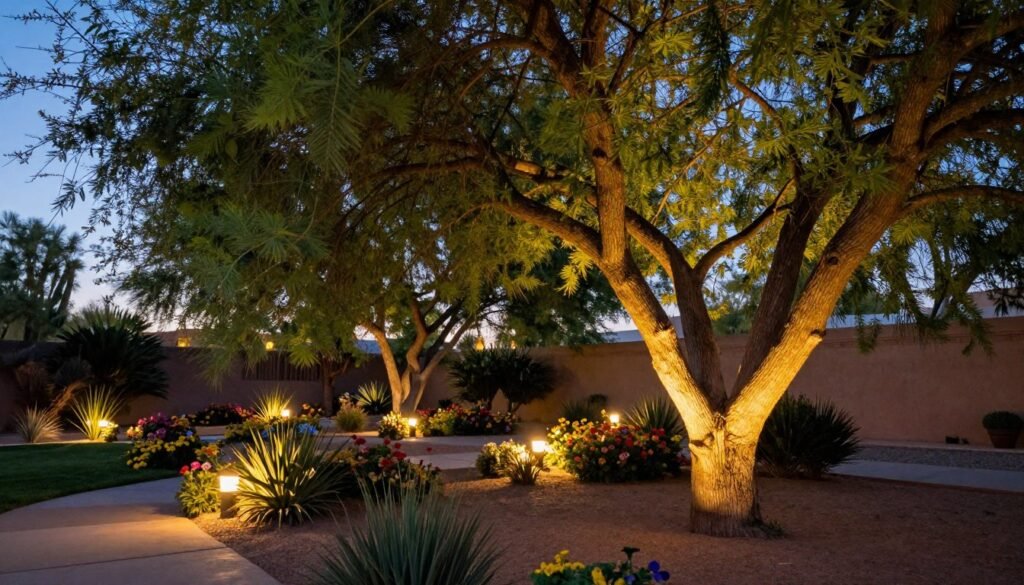
A comfortable design uses warm, controlled light and keeps the bright source out of a person’s direct line of sight. Color temperature describes whether a light looks warm or cool, while color rendering describes how well it shows the colors of plants and surfaces.
DarkSky recommends warm-toned outdoor light at 3000K or lower to help reduce glare and skyglow. A color rendering index, or CRI, of 80 can suit landscape lighting. CRI 90 or higher can make foliage and masonry look richer at night.
Choose a comfortable color and color rendering
Warm light can make a patio feel inviting without turning the whole yard bright. CRI helps you judge how natural colors may look under a fixture. It does not measure brightness or tell you where to aim a beam.
For example, a high-CRI spotlight can make a tree’s bark and leaves look vivid. If the beam points toward a seat or a nearby window, the effect may still feel harsh. A high CRI does not make poor fixture placement comfortable.
The Illuminating Engineering Society lists ANSI/IES RP-47-23, “Recommended Practice: Landscape Lighting,” in its Lighting Library standards collection. That collection also includes an illuminance selector with recommendations for lighting levels.
Aim and shield each light carefully
A shielded, downward-aimed fixture puts light on a path while hiding the bright source from people nearby. An exposed source can create glare, even when its beam reaches the right area. Shielded fixtures also help limit light spilling into a neighbor’s windows.
A full-shade path fixture conceals its lamp and directs light onto the ground. That can make a walkway easier to see without exposing a bright point at eye level. It also helps keep the path’s light from spreading farther than needed.
Ask to review the beam from the places where people will walk and sit. View the proposed beam direction from the walkway and from neighboring windows before approving placement.
What Does Tempe’s Desert Landscape Require During Installation?
In Tempe, the visible surface may not reveal the soil condition that a wire route or planting bed will encounter. Arizona heat, dust, low-water planting and seasonal turf care can all affect access and placement during installation.
Caliche hardpan may sit 12-36 inches below the surface, but it does not form a uniform layer across every lot. One planting bed may drain differently from another area only a short distance away. A site visit should account for that uneven ground before fixture locations are final.
When a planting hole passes through caliche, water can collect around the roots unless the hole has a drainage route. This matters when a design calls for a new plant near a light. The installer should note any concern before planting and fixture positions are set.
Low-water beds may contain established roots, irrigation lines and plants that need space. A wire route should avoid damage to those features, while fixture placement should leave room for growth. Ask how the work will fit existing irrigation and the plants already on the property.
Turf edges also affect access and restoration. If the project touches artificial turf or another finished surface, clarify how the installer will protect and restore it. A separate guide to choosing an artificial turf installer covers base preparation, drainage and contract details.
Seasonal turf care can limit access to parts of the yard or affect when work should happen. Coordinate lighting work with the landscape’s care needs instead of assuming every area is ready for digging. Ask the installer to flag any planting-hole drainage concern before the final locations are set.
Which Fixtures and Materials Suit Outdoor Conditions?
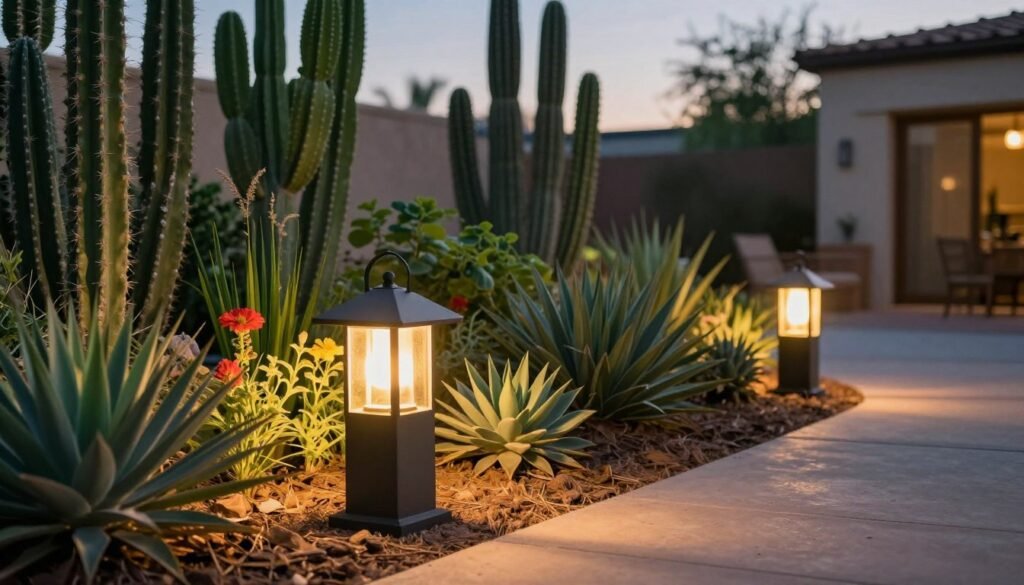
Fixture selection should follow the water exposure and physical location of each light, not appearance alone. An above-ground fixture near sprinklers faces a different risk from a well light set into the ground.
Match the fixture rating to its location
An IP rating describes protection against dust and water entering a fixture. It does not describe beam quality, brightness or how well a light fits the design. Check the rating for the exact fixture and its intended location.
Above-ground fixtures exposed to rain and sprinklers should be IP65. In-ground well lights that may sit in standing water after a storm need IP67 or better. These locations face different water exposure, so one rating should not be assumed to suit both.
Compare housing materials and light control
Housing material affects how a fixture responds to weather and wear. Brass and copper resist corrosion and develop a natural patina over time. Powder-coated aluminum can pit and flake if its finish gets scratched.
Shades and shields also shape where light goes. Ask how the fixture controls glare at its actual height and position, rather than judging the housing alone. The table compares common location and material choices:
| Fixture or housing | Typical placement or exposure | Rating or material behavior | Selection check |
|---|---|---|---|
| Above-ground fixture | Rain or sprinklers | IP65 | Confirm exposure at the mounting spot |
| In-ground well light | Possible standing water | IP67 or better | Check the exact fixture rating |
| Brass or copper versus scratched powder-coated aluminum | Outdoor fixture housing | Brass and copper resist corrosion; scratched coating can pit or flake | Review finish and expected wear |
Do not choose a fixture by rating alone. Its shade, beam and mounting position must also suit the job. Confirm the exact IP rating on the proposed fixture before approving an in-ground location.
Is a Wired or Solar System a Better Fit?
Choose wired low-voltage lighting when consistent brightness across planned areas matters more than avoiding cable; consider solar for isolated locations where output variation is acceptable. LED fixtures are available for both pathway and landscape applications.
A wired landscape lighting system can support a planned layout with a more consistent light level. It needs a power source, transformer and cable routed to the fixtures. Solar lights work without that cable, but their output depends on sunlight and charging conditions.
A shaded corner may not suit solar fixtures if the light needs to perform steadily each evening. A small, separate feature can be a better fit when independent placement matters more than steady output. Compare the choices against the route or feature you need to light.
| Consideration | Wired low-voltage system | Solar fixtures |
|---|---|---|
| Brightness consistency | More consistent output | Output can vary with charging |
| Power and cable needs | Needs a transformer and cable | Uses built-in solar charging |
| Practical fit | Planned routes and features | Isolated spots with flexible placement |
Wired systems still need suitable cable for the length of each run. A long run can lose voltage when the cable is too small, so a wired choice alone does not ensure even output. Ask how the installer will check voltage at the end of each proposed wired run.
How to Choose a Landscape Lighting Installer Tempe Homeowners Can Trust

Verify the contracting business’s license and classification before comparing the design details in competing bids. Arizona generally requires a contractor’s license when labor and materials exceed $1,000, or when a permit is required, regardless of project price.
The Arizona Registrar of Contractors assigns a license to the contracting business, not to its qualifying party. The qualifying party is the person who meets the requirements for that business’s license. A contractor must be properly licensed before submitting a bid.
For qualifying low-voltage work, C-67, R-67 and CR-67 classifications cover landscape-lighting work only when the system does not exceed 91 volts. The right classification depends on the actual work and system voltage. Check the scope rather than relying on a general claim about experience.
Verify the business license and classification
Use these checks to confirm that the contractor and proposal fit the planned work:
- Look up the business name and license status with the Arizona Registrar of Contractors.
- Match the classification to the system voltage and project scope.
- Confirm that the bid follows proper licensure.
- Compare the written scope, responsibilities and exclusions.
Check the bid, scope and project responsibility
A bid should name the business responsible for the work and describe what it will install. It should also make clear which parts of the job fall outside the price or scope. A vague proposal makes it harder to compare two contractors fairly.
Check that the same licensed business name appears on the bid, agreement and project messages. If another business or worker will handle part of the job, ask who is responsible for that work. Keep the licensed business name consistent across the bid, agreement and project communications.
Discuss the contractor’s process for site visits, communication and changes to the plan. A clear written scope helps prevent a disagreement about what the proposal includes. Keep the licensed business name consistent across the bid, agreement and project communications.
What Should a Tempe Quote and Site Plan Spell Out?
A useful quote identifies what will be installed, where the wiring will run and how the design responds to Tempe’s at-grade light limit. The city limits on-site illumination to 40 foot-candles measured at grade.
The proposal should list fixture locations and counts, fixture types, cable routes, controls and testing. It should also say whether the contractor will restore disturbed areas and identify any exclusions. A marked plan can make those details easier to review than a written description alone.
Tempe’s illumination limit matters when beams overlap, especially near a shared property edge. Review the combined effect of nearby lights instead of judging each fixture in isolation. The design should show how placement responds to the property boundary and the areas being lit.
The city’s code calculation uses a light-loss factor of 0.68 for metal-halide lighting and 0.72 for high-pressure sodium lighting. These values belong in the calculation when those lamp types apply. The Illuminating Engineering Society’s standards collection lists guidance for landscape lighting and illuminance levels.
A site-specific estimate depends on fixture selection, desired brightness, fixture count and wire-run distance. More lights or longer cable routes can change the amount of work. Ask the contractor to show how the quoted scope matches the marked locations.
Request a marked-up site plan so you can check fixture positions against paths, planting and property edges.
How Should a Low-Voltage System Be Installed and Tested?
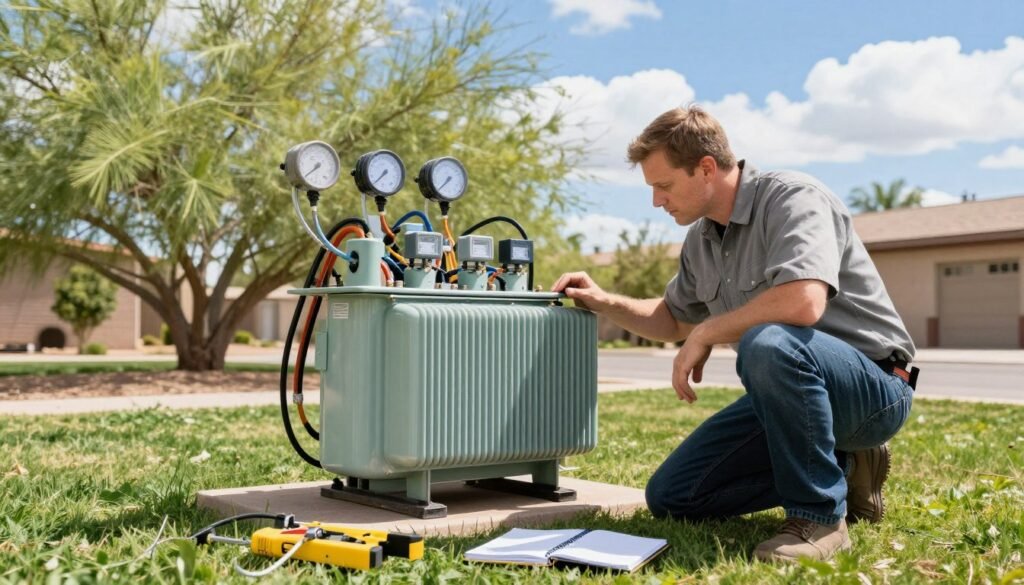
A properly commissioned system is sized for its connected load and checked where the light actually reaches each fixture. Voltage drop, defined earlier, can leave a distant fixture with less power than one near the transformer.
Size the transformer to the total load
VA is the measure of fixture load used when sizing a transformer. The total fixture VA should not exceed the transformer’s wattage. For example, a 300-VA load calls for a transformer rated at least 300 watts.
Ask the installer to show the load total and transformer rating in the project details. That check helps confirm the selected unit can serve the connected fixtures. It does not replace voltage readings at the far end of a cable run.
Choose a safe, accessible transformer location
Kichler recommends placing the transformer within 8 feet of a standard GFCI outlet. It also recommends mounting the unit at least 12 inches above ground and at least 10 feet from a pool or pond.
Choose a location that remains accessible for service and is not blocked by plants or stored items. The plan should show the outlet and transformer position, rather than leaving the location to be decided during installation.
Test voltage at fixtures on every run
Fixtures on each low-voltage run should operate within 9-15V, and the end fixture should read above 10V. A reading at the transformer alone cannot show whether the farthest fixture receives enough voltage.
| Check | Requirement | Example or measurement | Why it matters |
|---|---|---|---|
| Transformer capacity | Total fixture VA at or below transformer watts | 300-VA load needs at least 300 watts | Matches supply capacity to fixture load |
| Transformer location | Within 8 feet of GFCI; 12 inches above ground; 10 feet from pool or pond | Kichler placement guidance | Allows access and follows stated placement limits |
| Fixture voltage testing | 9-15V on each run; end fixture above 10V | Readings at farthest fixture and across each run | Checks voltage where fixtures operate |
Ask for readings at the farthest fixture and across each run, not only at the transformer. The installer should record those measurements during final testing. Ask for end-of-run readings to be recorded before accepting the completed system.
What Maintenance Should You Plan For?
Even an LED system can lose useful light when dust, plant growth or yard work changes what reaches the target. Arizona dust can collect on lenses, and a fixture can remain on while its beam points away from the intended area.
LED technology can reduce some lamp-related upkeep, but it does not remove the need to inspect the rest of the system. Plant growth can cover a lens or block a beam. Yard work can shift a fixture, expose cable or change how the light reaches a path.
Plan to check the system at least as part of routine landscape care. Maintenance can include lens cleaning, timer adjustment, component replacement and repair. Use this checklist:
- Clean dust and debris from fixture lenses.
- Check each fixture’s aim and adjust it if needed.
- Inspect visible cable or connections after landscape work.
- Confirm timer and control settings.
A light that still turns on may be partly covered or pointed at the wrong feature. Check the beam on the ground or wall, not just the fixture’s power. Recheck the fixture aim after pruning, planting or other work near the lights.
Conclusion
A strong hiring decision pairs a design that fits the property with clear answers about the work and its testing. Your plan should reflect how you use the yard, where people walk and what the site can support.
Ask the contractor to explain the scope, show fixture locations and describe how the finished system will be checked. Those details make it easier to judge whether the work meets your goals for safety and outdoor living.
Visit rtloaz.com to discuss your Tempe property and request a landscape lighting consultation.